
Your Cart is Empty


Waxing At Home for Beginners in 2025

Learning how to wax as a beginner can be very intimidating, especially with the amount of information there is online ranging from what waxes to buy all the way to what temperature to set your warmer at for the best meltdown time. Although many avid waxers have had hands-on training, we here at Nova don’t want that to deter you from exploring the valuable practice that isat-home waxing!
To ease all of your anxiety about starting something new, we’ve put together an informative blog diving deep intoat-home waxing for beginners.
Table of Contents
There are many benefits of waxing at home.
Benefits Of Waxing At Home
Waxing is one of the most effective hair removal methods, especially when compared to other hair removal methods commonly done at home like shaving. One benefit ofwaxing at home is the amount of time saved due to hair regrowth cycles slowing down. When consistently waxing, hair does not grow back as quickly as it normally would because waxing removes hair from the root instead of just cutting the hair down, which is what happens when shaving.
On that note, a second benefit ofwaxing at home is finer hair regrowth. Not only is the hair growing back more slowly, but it will also grow back less coarse which gives it an even better texture. Even if you spend a little too much time in between waxes, your skin won’t feel as prickly or “hairy” as it would if you were consistently shaving at home instead.
A third benefit is what waxing can do for your skin. Unlike other hair removal methods that can leave your skin irritated and inflamed with ingrown hairs due to repeated exposure and friction,waxing at home gives your skin time to heal. Having to go over areas repeatedly while shaving and running the risk of accidentally cutting yourself makes waxing one the easiest ways to avoid blemished skin!
Lastly, one of the most significant benefits of learning towax at home is cost-effectiveness. No longer having to spend money on services from an esthetician and gas to and from his or her location saves you a lot of money! Of course, we love supporting our local estheticians; but, during months when the budget is tighter than normal, learning how towax at home can be a real lifesaver!
Naturally, after learning about the benefits ofwaxing at home something many beginning waxers do is immediately go on the hunt for the perfect wax to buy.
With a ton of waxes on the market, the buying process can be very confusing and overwhelming.
Which Hair Removal Wax Is Best For Beginners?
Nova's Hard Waxis best for beginners because of the formula’s professional qualities. Nova’s hard wax can be used for all-over body waxing, meaning that beginners don’t have to spend extra time learning about what type of wax to use where. With a consistent and easy meltdown, Nova’s hard wax also reduces the potential for burning skin upon application. When learning towax at home, a process of trial and error is inevitable. Not having to worry about your wax overheating and burning your skin can ease your mind.
Nova’s hard wax is also the best forwaxing at home because it was created with the user experience in mind. It spreads seamlessly, making the process of waxing as a beginner less daunting. It adheres to the hair easily, making pulling large strips and being time efficient easy. Lastly, both the hard wax tablets and hard wax beads s have clean ingredients, reducing the risk of irritation even for the most sensitive skin.
Overall, Nova's hard wax is easy to use, excellent quality, and simple to store if you’re running low on at-home space. Both forms of hard wax do not require any strips, but other supplies are necessary. Luckily, Nova carries full starter wax kits perfect for beginners learning to wax at home.
Also read:The Complete Facial Waxing Guide
Waxing at Home Products
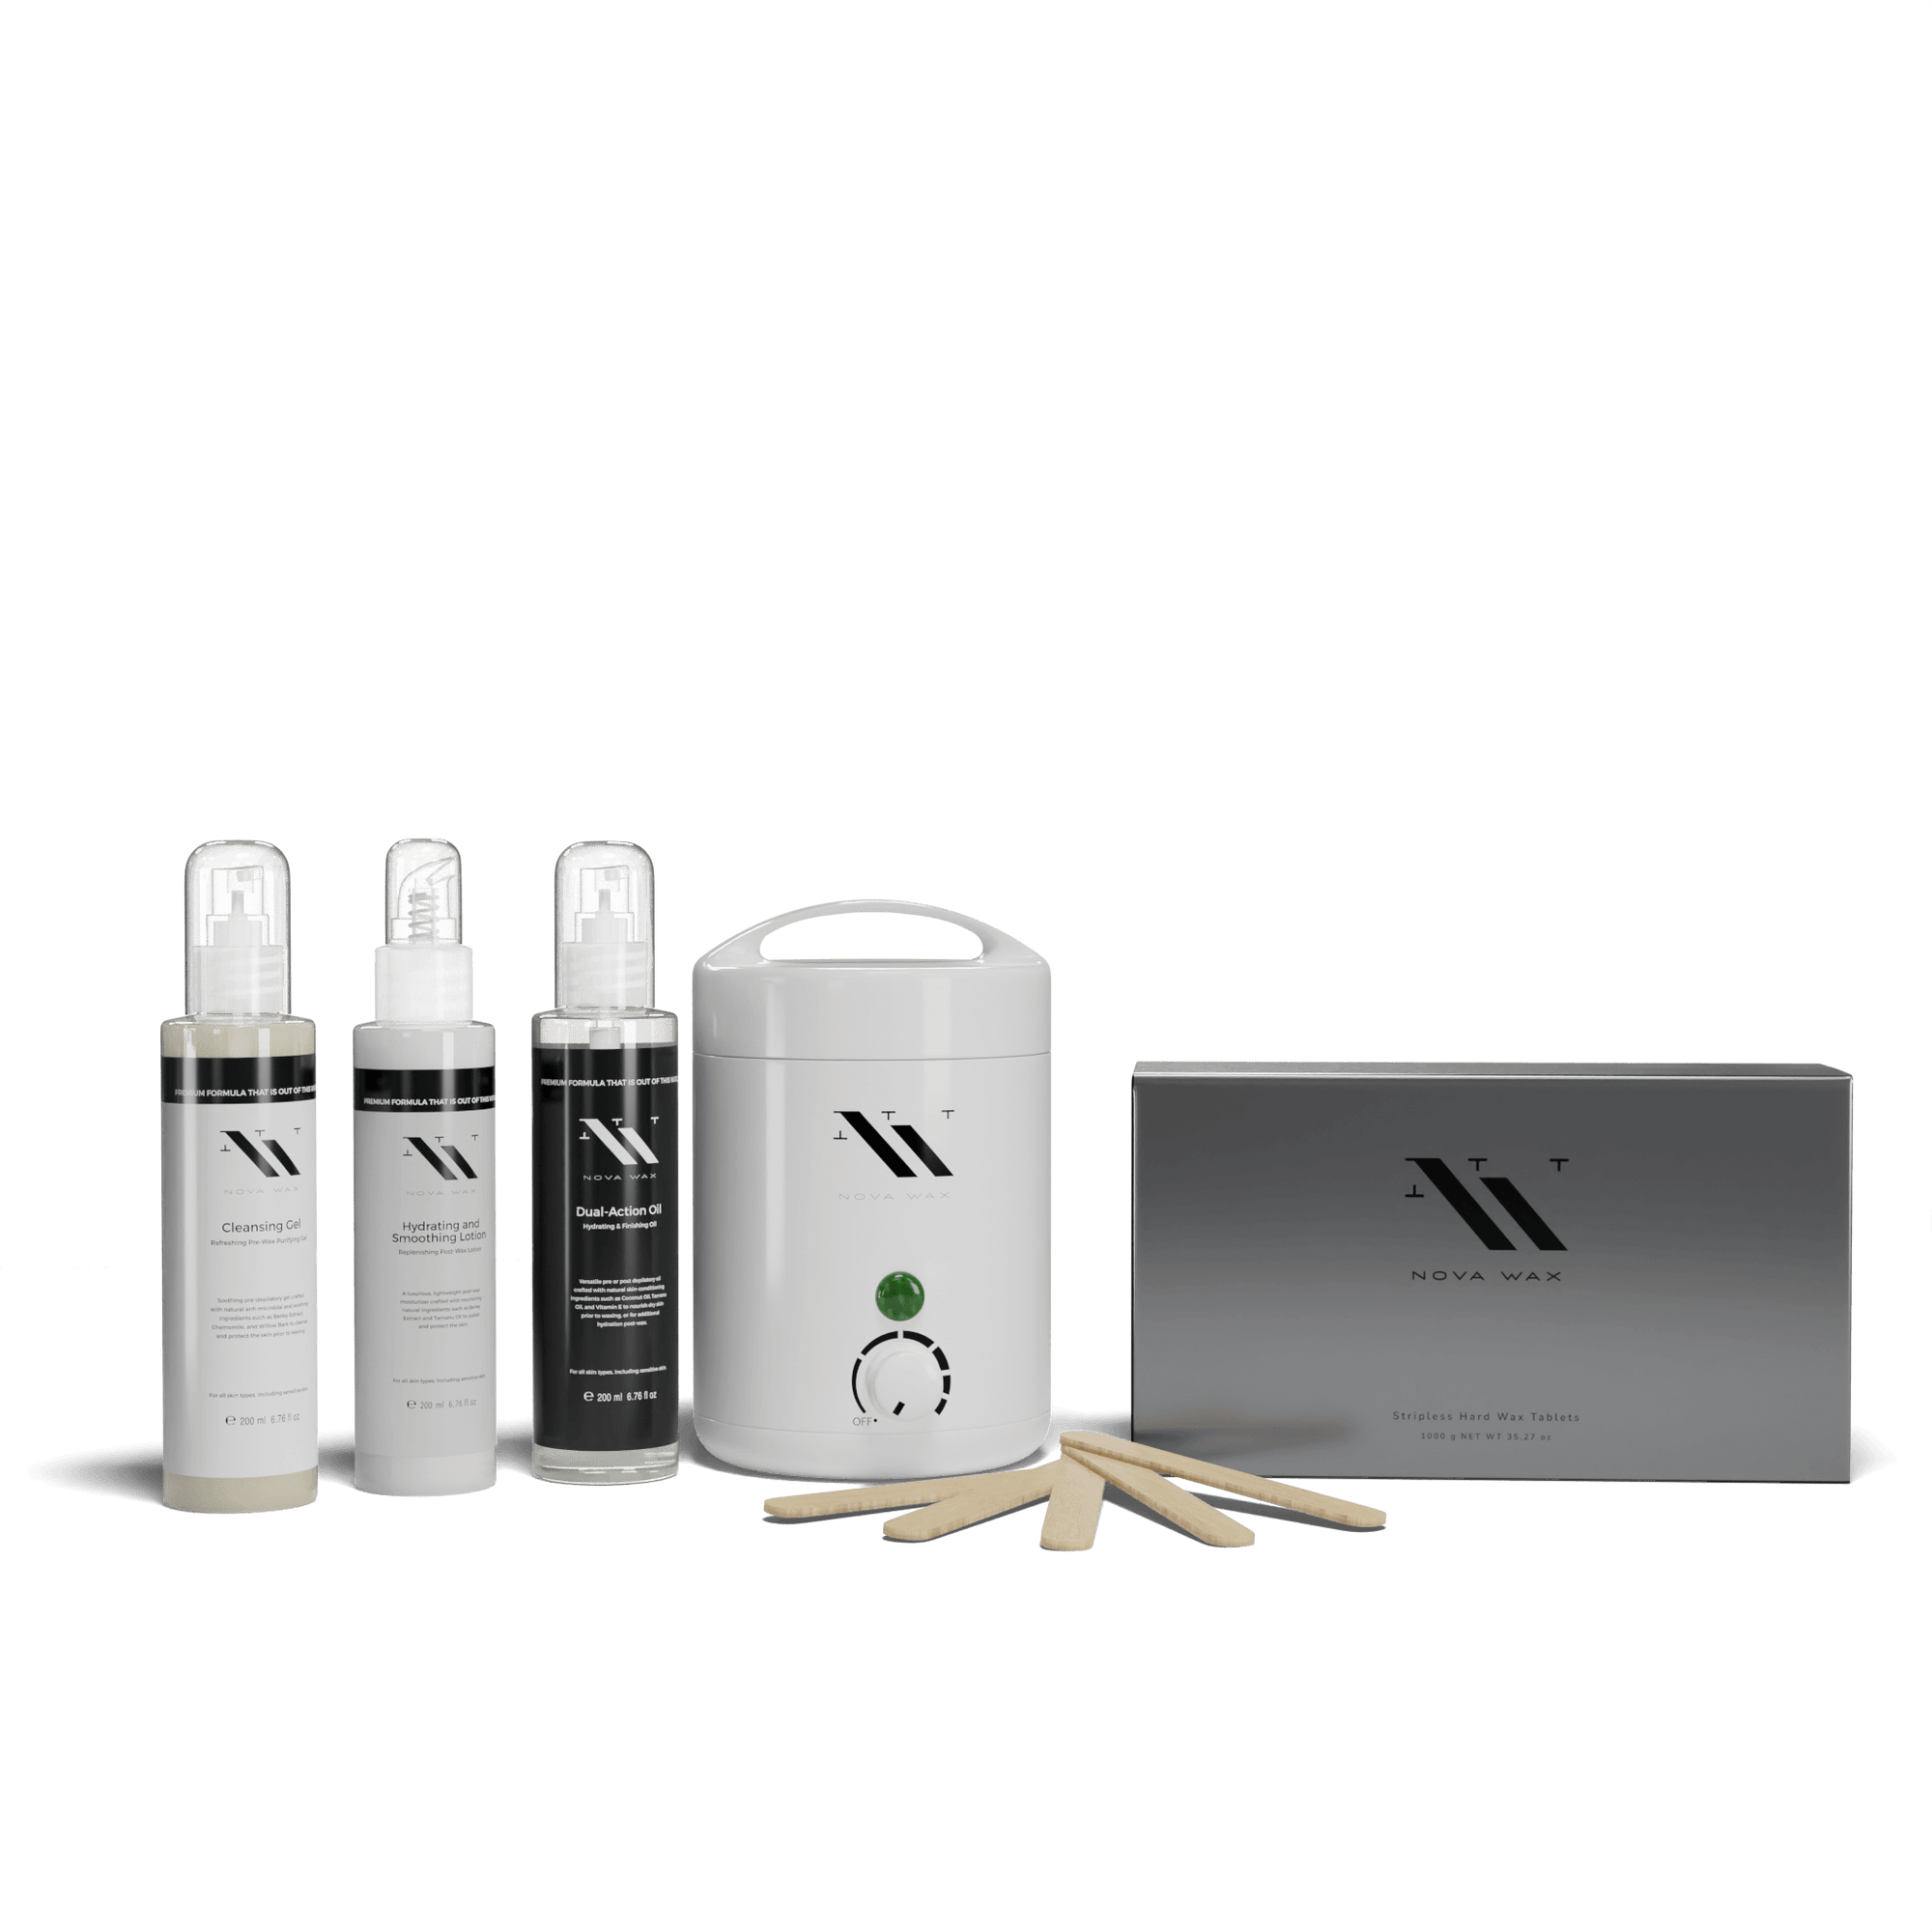
The best waxing kit for beginners who are learning towax at home is Nova's Eyebrow & Face Waxing Kit. Perfect for getting you started with your waxing endeavor, this kit includes a mini warmer created in the ideal size for at-home storage.

In addition to the wax warmer, it contains a 500g box of Nova's hard wax tablets, 100 of the 4.5 inch wooden wax applicators, and the Pre & Post Care Bundle.
Nova's Pre & Post-Care Bundle is made for all skin types, including sensitive skin. It includes acleansing gel to cleanse and prep, ahydrating and smoothing lotion for post-care, and aDual-Action Oil that can be used for both pre and post-care to nourish and hydrate dry skin.
Once you begin to perfectat-home waxing and you want to start speeding up the process, upgrading to aprofessional wax warmeris a great idea since our larger warmers have a much larger wax capacity. Upgrading can make a world of difference when it comes to time spent waxing.

Upgrading can make a world of difference when it comes to time spent waxing.
How to Wax at Home
Preparing your skin is the first step of thewaxing at home process.
In order to prep the skin thoroughly, we recommend using the exfoliating bath mitt 1-2 days prior to waxing. Using the exfoliating bath mitt in the area that will be waxed ensures that all dead skin cells are removed and thus creates a better foundation for hair removal.
Immediately before you wax, cleanse the skin using clean hands and cotton rounds. Since you'rewaxing at home, taking the extra time to use soap and water while skin prepping can make a big difference in how smoothly your waxing process goes. Follow up the initial wash with your cleansing gel to remove all remaining oil and impurities from the skin.
Make sure that before waxing all areas that are being waxed are completely dry in order to ensure efficient results.
NOTE: ** Don't forget to assess the length of your hair before waxing! Hair should be 1/4 of an inch or longer to get effective waxing results. Before you begin waxing, make sure your hair is at least this long.
To start, turn on your wax warmer by placing the wax into the pot and turning the knob to the temperature designated by the warmer’s instructional guide. After about 30 minutes, the wax should be at a honey-thick consistency and can be tested with a spatula dip.
As a beginner, it's a good idea to map out your wax before you begin dipping and moving to avoid any spills. For example, if you’re waxing your arm you want to make a mental note of where you are going to apply the wax and in what direction. Whenwaxing at home for the first time, it’s better to start with small sections and with small quantities of wax. It will be easier to control, less messy, and safer. Using your wooden spatula applicator, dip into the wax and carefully transfer it over to the desired area, applying the wax with the direction of hair growth.
Make sure that when applying there is a balance between your pressure and speed, allowing the wax to glide smoothly and spread evenly. Release the pressure as you near the end of the strip and gently create a lip with the wax.
Watch this video to see how Liz Lugo waxes her underarms:
Let the wax set and cool for just a few seconds and test it by gently tapping - if it is no longer sticky to the touch then it can be pulled. Lift the edge of the wax slightly at the lip, hold the skin taught below the lip with the opposite hand, and pull in the opposite direction of your hair growth (opposite direction of wax application).
Immediately after the wax pull, place light pressure from your hand onto the area you just waxed to help with pain relief and soothe irritation.
Continue this same process until all desired areas are hair-free.
Also Read: Why is My Hard Wax Breaking?

After waxing, apply your post-care lotion or dual-action oil to the freshly waxed area. This will help soothe and rehydrate the skin, it will also reduce the chance of post-wax ingrowns.
Also Read: Ingrown Hairs and Waxing
Waxing at home, especially in the beginning, may take you a little longer than expected. Keep this in mind and don’t be too hard on yourself! The last thing you want to do is rush and end up potentially hurting yourself or getting discouraged from continuing to learn because the results aren’t coming as easily as you hoped.
How to Wax at Home Safely
One of the most important things about learninghow to wax at home is learninghow to wax at home safely.In esthetician school, many of us learn about all the possible things that can go wrong when waxing ourselves or others through the process of trial and error under guided professional help.
When you’rewaxing at home, however, you don’t have that professional telling you the do’s and don’ts! One of the biggest things to be aware of is the wax temperature.
Learning the correct temperature for wax, especiallyat home wax, is a process! Luckily, if you’re purchasing a Nova Wax warmer, the instructional guide will provide you with temperatures suitable for whatever area you’re waxing.

But, the temperature can still fluctuate during the service which leaves an opportunity for burns and skin trauma upon contact. The best way to test your wax whenwaxing at home is by applying it to your inner wrist before your service and periodically throughout your service.
Wax that is too hot can burn you and wax that is too cold won’t pull out hair efficiently or even worse, may get stuck and leave you having to find creative (dangerous) ways to remove the sticky mess!
Another thing you want to pay attention to is the direction of your hair growth and how you’re applying your strips. It’s super easy to become distracted at home, maybe you have a lot of activity going on with other household members or animals; but, setting aside time to really assess your hair growth is crucial towaxing at home safely.
It might be tempting to just get it done quickly, but applying wax haphazardly is dangerous. You run the risk of getting the wax stuck and therefore skin lifting.
Also Read: All About Pre and Post Wax Care
Wax at Home Tips & Tricks
The biggest tip with at-home waxing is finding good lighting! Good lighting can be the difference between getting lasting results from yourat home wax or a wax disaster in the comfort of your own home.

If you’ve ever visited a waxing salon, you’ll notice that in addition to the overhead lighting, most estheticians have a magnifying glass with a very concentrated bright light. The light allows for better visibility to see not only hair growth directions, but also pesky little hairs that were missed on the first pass.
Investing in a good light can help you safely and sufficientlywax at home. On that note, another trick for waxing at home is keeping a good stand-alone or handheld small mirror around.
It can be very hard to see hairs from far away, in a bathroom mirror separated by a sink, for example. Buying a small mirror can save you tons of time and maximize yourat-home wax results!
Also Read: The Complete Brazilian Wax Guide
Final Thoughts
Just like all other new ventures,waxing at home can be very overwhelming initially. Practice patience with yourself and remember to trust the process - failures and all! In the long run you’re saving money and learning a valuable skill.

Investing in a goodat-home waxing kit is a great way to begin your newwax at home journey. Even with the best supplies though, practicing pre & post care and taking the appropriate safety precautions are essential to at home-waxing.
Always make sure your wax temperatures are appropriate and your application style is appropriate for the hair growth direction.
The space you wax in is also a huge factor in goodat-home wax results, bring on the good lighting please!
Refer to our guide whenever necessary. Happyat-home waxing!